How to Prep a Room for Painting, and Why It Matters
Getting ready for an interior painting project? Whether you’re freshening up a bedroom or giving your whole house a new look, knowing how to prep a room for painting can make a big difference in how smoothly the job goes. And if you're hiring professional painters, a few simple steps ahead of time will make the process easier for everyone involved.
At Paint-Right Painting, we’ve worked in homes across the Key Peninsula, Gig Harbor, and Port Orchard, and we’re often asked questions like:
"Do painters move furniture?"
and
"What should I do before the painters come?"
These are great questions, and the answers can help you save time, protect your belongings, and possibly even reduce your project costs.
In this guide, we’ll walk you through everything you need to know to get your rooms ready for professional
interior painting services. Whether you're painting it yourself or leaving it to the pros, you’ll feel more confident and better prepared.
Let’s dive in.
Start with a Room-by-Room Plan
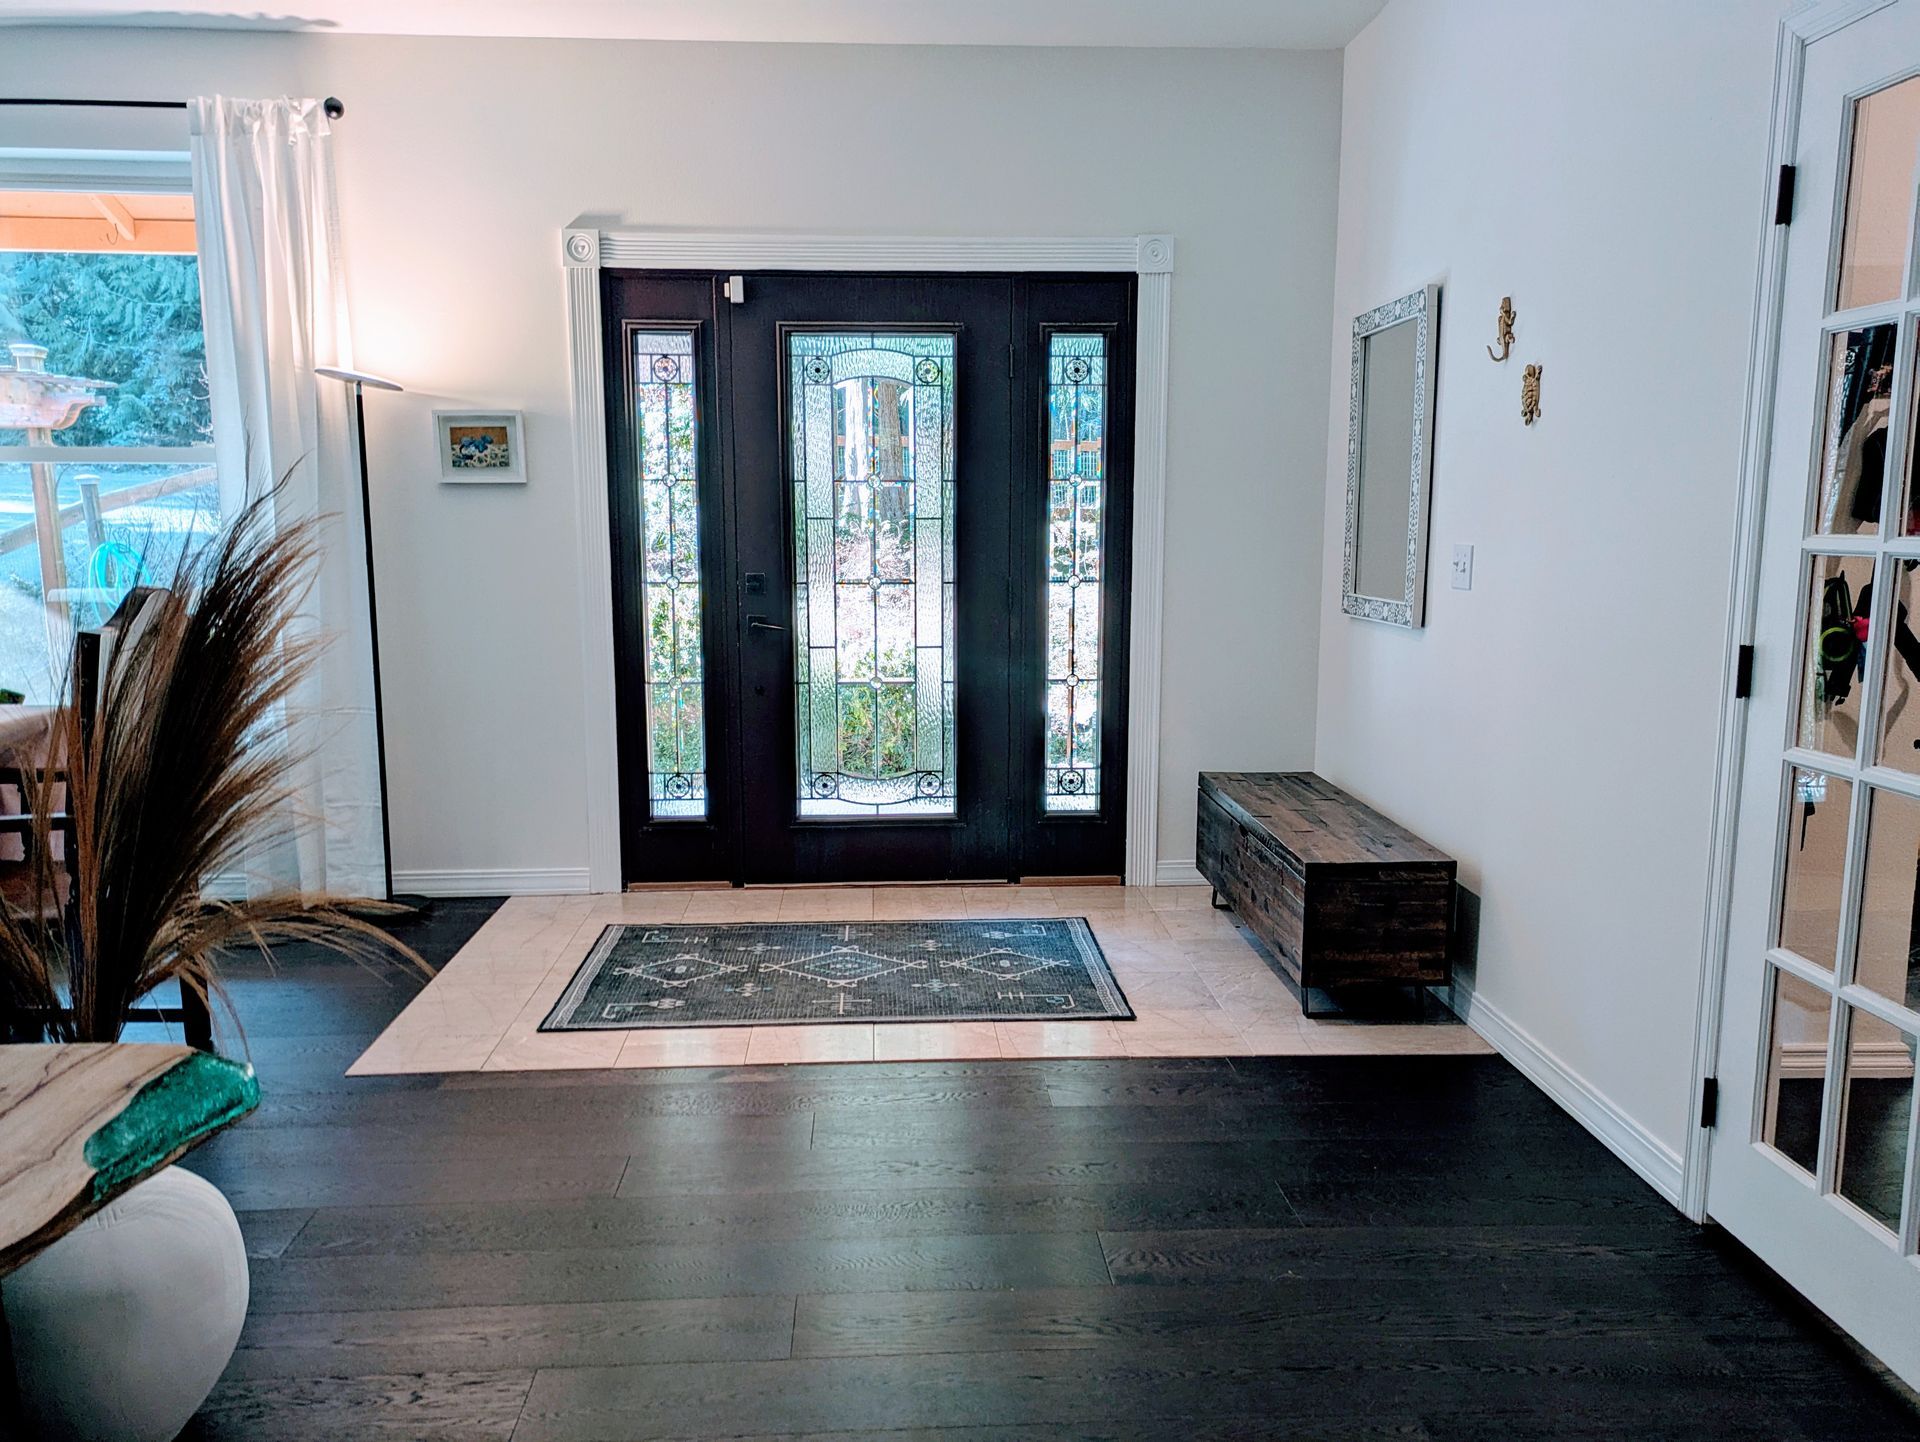
Clear Off Surfaces and Pack Up Breakables
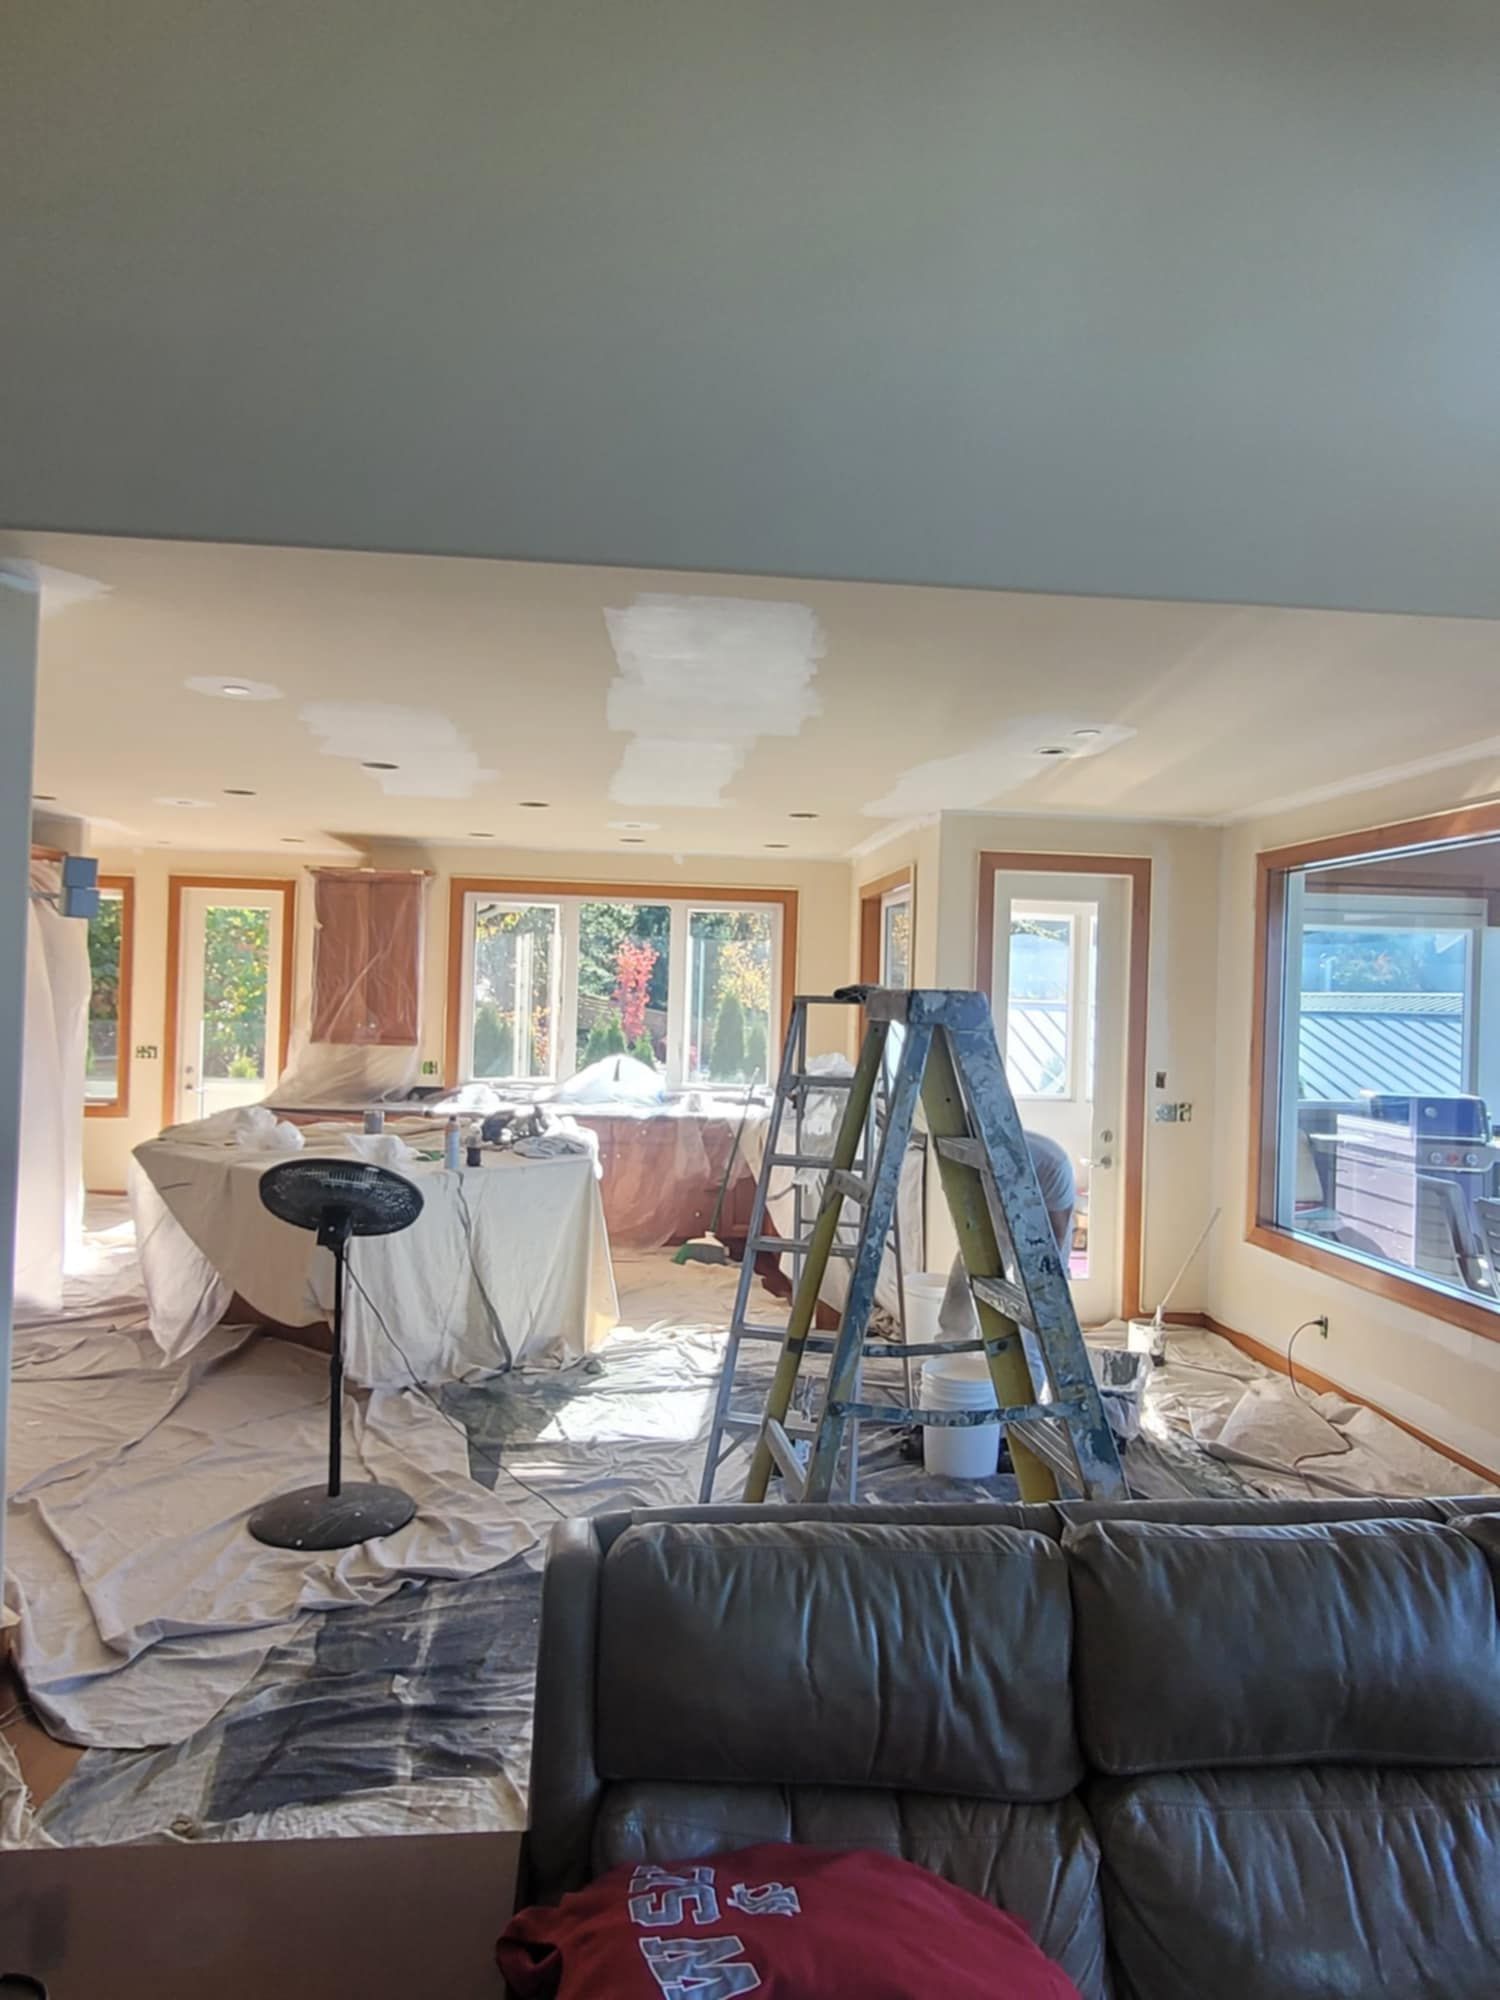
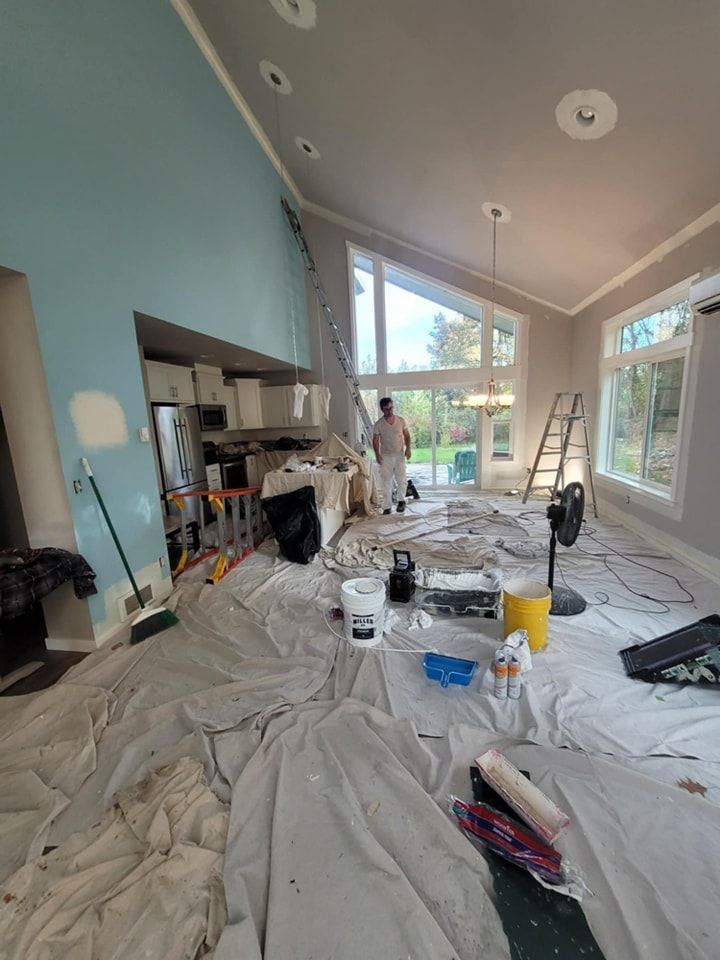
Once you’ve got a game plan for which rooms will be painted first, start by clearing off surfaces and packing up breakables. It’s one of the simplest things you can do to protect your belongings and make the space easier to work in before any heavy lifting begins.
Start with coffee tables, sideboards, bookshelves, and countertops. Even small surfaces like bathroom vanities and nightstands should be free of items when that room is being painted.
Next, remove anything
delicate or valuable, including:
- Glass tabletops or shelves
- China cabinets
- Collectible displays
- Small electronics or cords
- Family heirlooms or one-of-a-kind pieces
Even though your painting crew will cover what’s left in the room, it’s safest to
pack up anything you wouldn’t want bumped or splattered. If it’s fragile, sentimental, or difficult to replace, it’s worth taking the time to store it somewhere secure.
Think of this step as clearing the runway so the painters can work efficiently and your belongings stay protected.
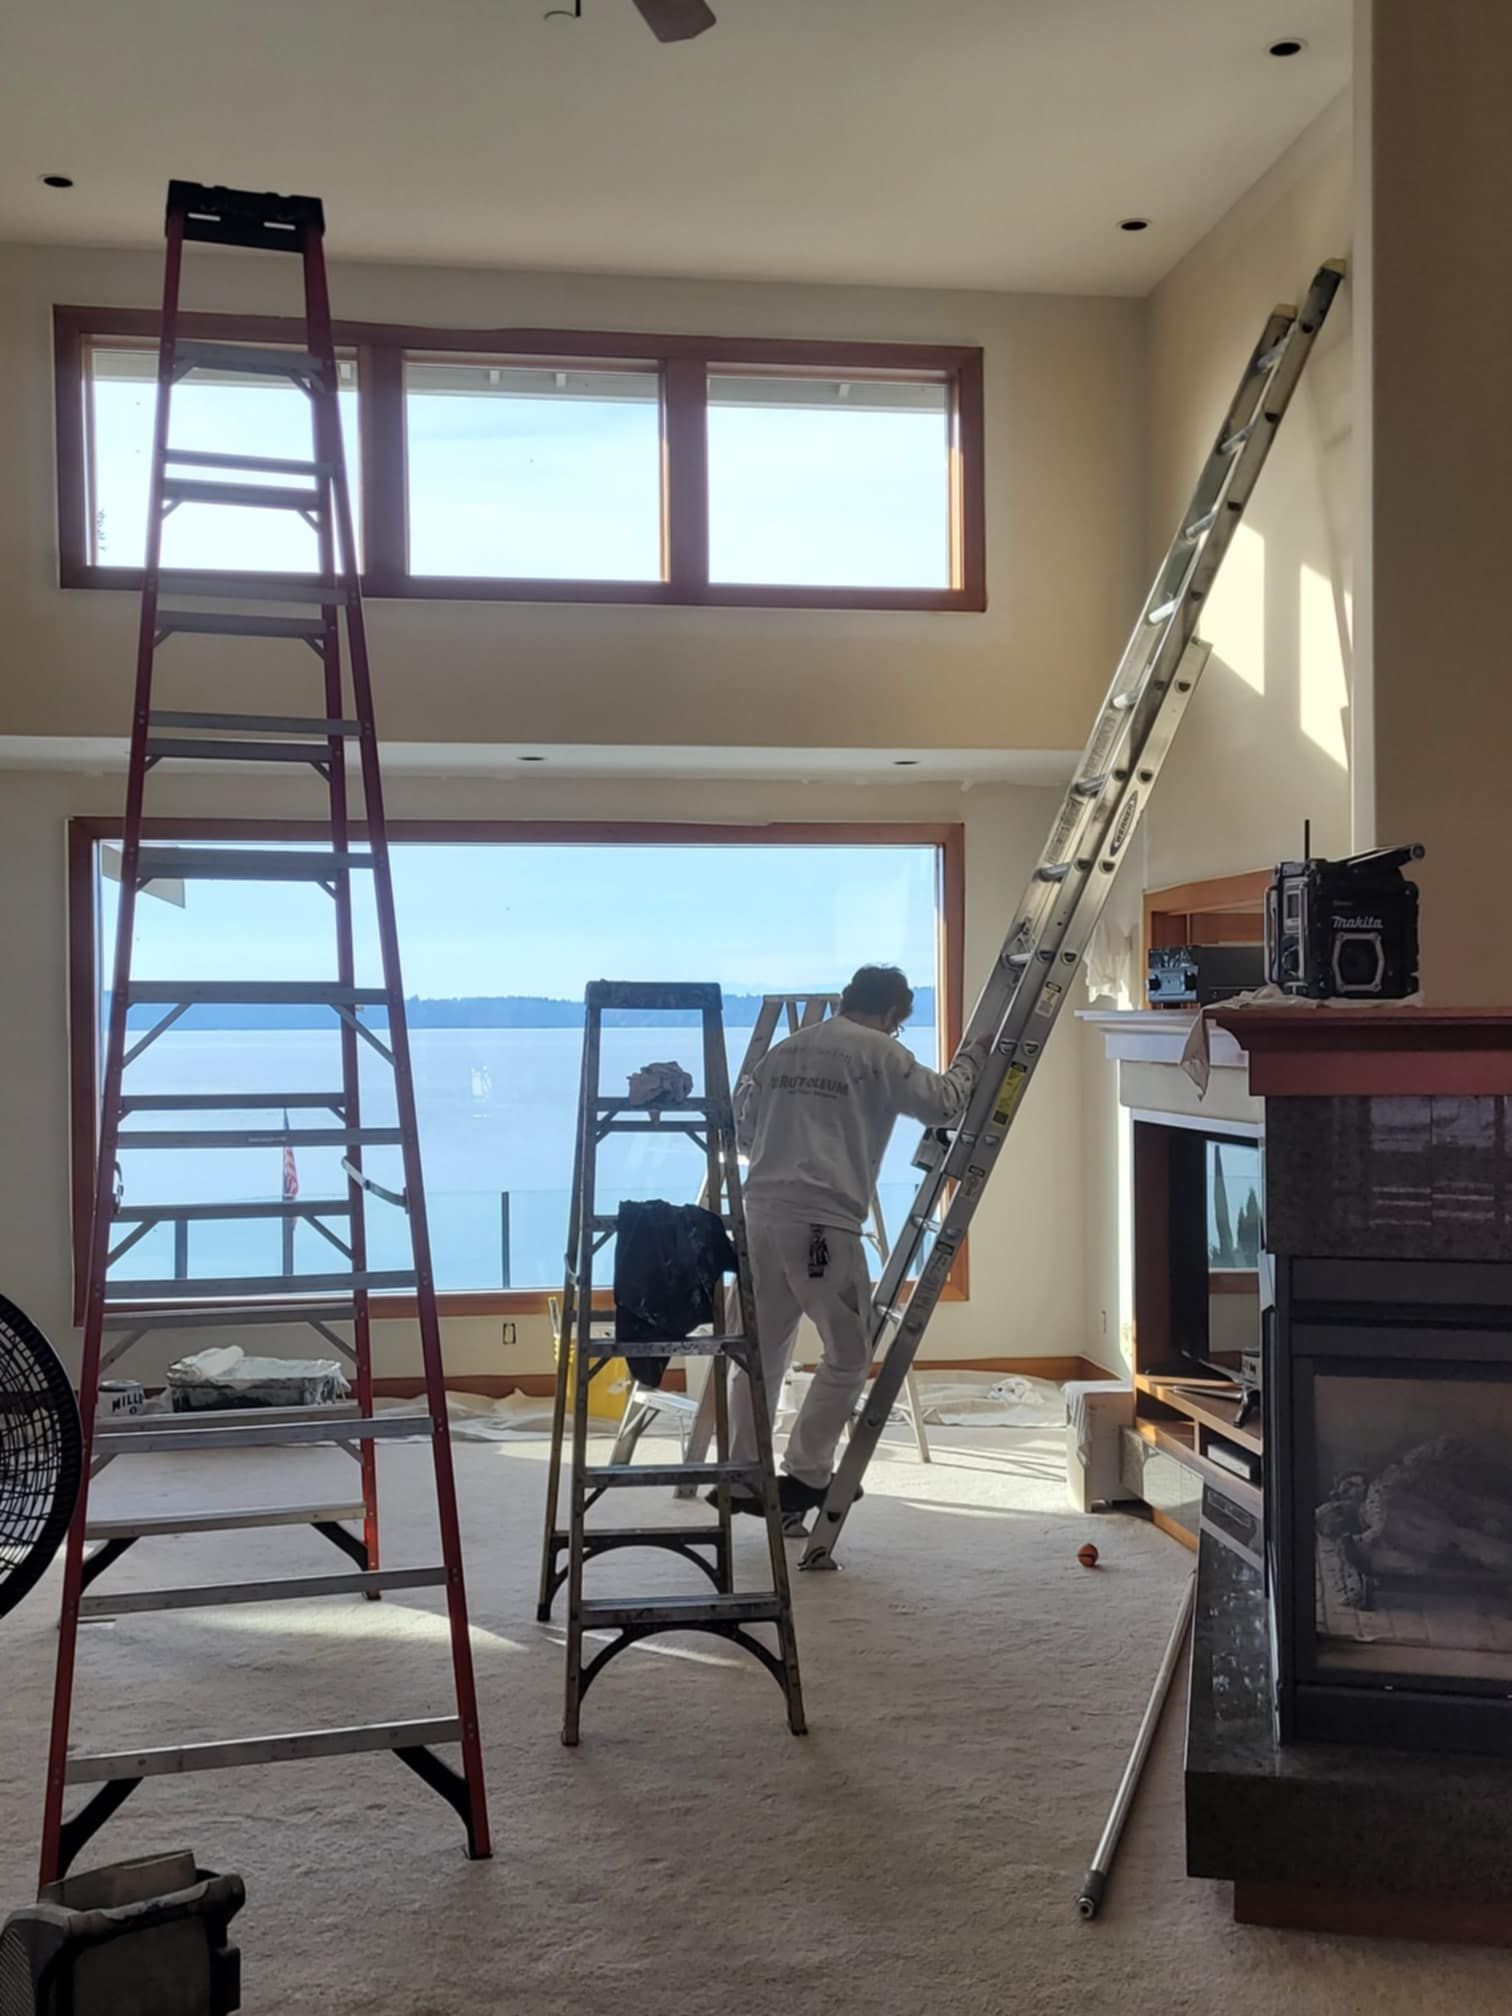
Move Furniture (and What to Know If You Can’t)
Once surfaces are cleared and valuables are packed away, it’s time to focus on the furniture itself. While most professional crews are happy to help move it, this service isn’t always included in the base price, but rather as an extra fee based on a room-by-room or hourly rate. It’s a good idea to ask about this ahead of time so you can plan accordingly.
If you're able to move furniture yourself, it's a great way to save on costs and help the project get off to a smooth start. Try to remove smaller pieces entirely and push larger items to the center of the room where your painters can cover them safely before getting started.
And don’t forget to flag any delicate, antique, or unstable furniture that might need extra care. A quick heads-up makes a big difference to protect your belongings and help your painters do their job with confidence.
Take Down Wall Hangings and Window Treatments
Did you find some damage that needs repair before the painting begins?
Our team can also assist with
minor carpentry repairs commonly needed alongside interior painting projects.
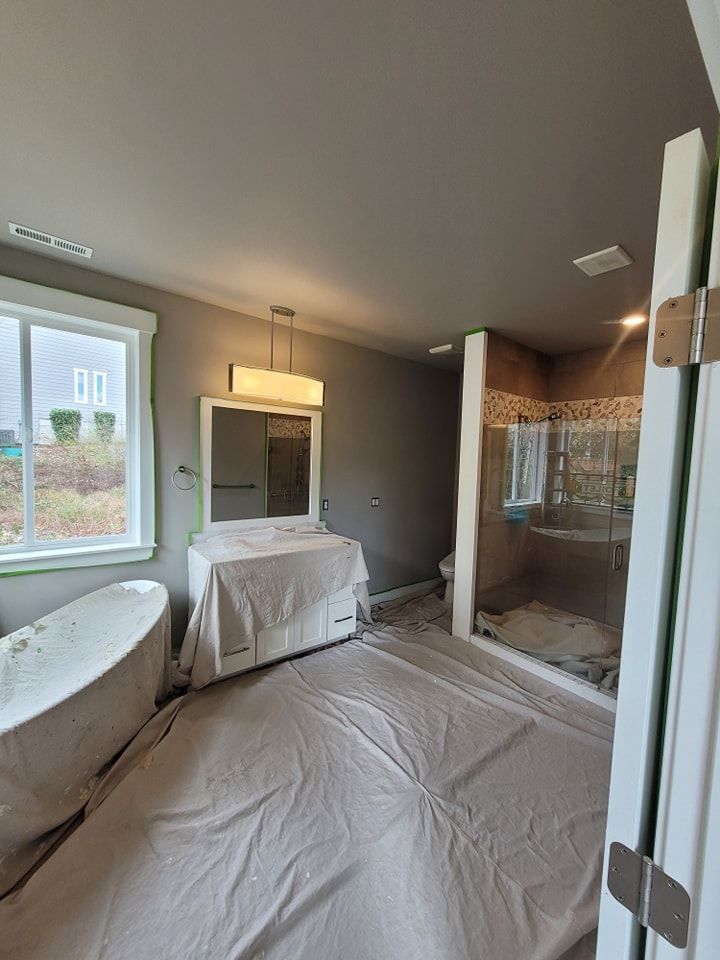
Prep Closets, Cabinets, and Built-Ins the Smart Way
If your project includes painting closets, cabinets, or built-in shelving, you’ll need to empty them out ahead of time.
Even if they don’t look like much work on the surface, closets often surprise homeowners with how much they hold. Take everything out and store it in labeled bins or bags so you can return things easily once the painting’s done. Don’t forget about hallway storage, linen cupboards, or coat closets that might be part of the plan.
Cabinets and built-ins tend to be even tighter spaces, which makes clearing them out especially important. Whether it’s kitchen uppers, bathroom vanities, or display shelves, removing the contents ensures your painters have room to work safely and efficiently—without the risk of damage to your belongings.
It’s also a great time to declutter. If something’s been sitting in the back of a cabinet or closet unused, you may not need to put it back after the job is done.
A little prep here goes a long way in keeping your project organized and stress-free.
Need extra help getting rid of old or unwanted items?
Ask about our
junk removal services, available throughout Pierce and Kitsap County.
Disconnect and Protect Your Electronics
Before your painters arrive, it’s a good idea to
unplug and move any small electronics out of the work area. That includes things like Wi-Fi routers, laptops, speakers, video game consoles, or countertop appliances—basically anything with cords that could get in the way or be accidentally damaged.
If your project involves larger entertainment systems like a mounted TV or stereo setup, your painting crew might offer to disconnect and reconnect it for you. But just like moving furniture, this is often considered an
add-on service and may come with a separate fee.
Even more importantly: painters aren’t responsible for reconfiguring tech setups. If your equipment is complicated or expensive, it’s best to handle it yourself or have someone tech-savvy in the household manage it ahead of time. That way, you avoid delays and potential issues when it’s time to plug everything back in.
Taking a few minutes to prep your electronics now can help keep them safe and make post-painting cleanup and setup much smoother.
Make a Plan for Pets and Room Access
We love pets and know they’re part of the family. But during an interior painting project, it’s best to keep them safe and out of the way. Open doors, unfamiliar equipment, and the general hustle of a workday can be stressful (and risky) for even the calmest cats and dogs.
If possible, arrange for pets to be in a closed-off room, with a trusted friend, or out of the house during active painting hours. This not only protects your furry companions, but also helps the crew work more efficiently without worrying about tripping hazards or escapes.
While you’re at it, it’s a good idea to talk with your painters about access—especially if certain rooms will be locked, someone won't be home, or you'd like the crew to follow a particular order. Leaving a note or labeling rooms with sticky notes can also be helpful if there are areas that need special attention or instructions.
A little communication goes a long way toward a smoother experience for everyone, including your pets.
Talk Through the Room Order and Timeline
Final Prep Tips for a Smooth Interior Painting Project
Preparing your home for a professional paint job doesn’t have to be complicated. With a little planning, clear communication, and a few proactive steps, you can help ensure the process goes smoothly from start to finish.
Start by moving or protecting furniture, clearing off surfaces, removing fragile or valuable items, and cleaning walls in high-traffic areas if needed. Make sure pets are secure, electronics are unplugged, and closets or built-ins are emptied if they’ll be painted. Most importantly, check in with your painting contractor about anything you’re unsure of—whether it’s who moves what, what prep is included, or how the timeline will unfold.
Every company works a little differently, so don’t hesitate to ask questions. At Paint-Right Painting, we’re happy to walk you through the process and make sure everything is clear before the project begins.
Just a few extra minutes of prep today can lead to a cleaner, faster, and more stress-free painting experience tomorrow.